Friday, March 25, 2011
Giveaway- WE HAVE A WINNER!
Monday, March 21, 2011
Featured Artist: BowDacious Babes Rockn' Hair Accessories
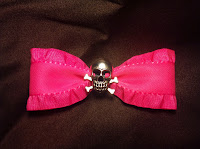 ShellinaScrap: What made you choose to use Facebook as your selling platform as opposed to other crafty selling sites?
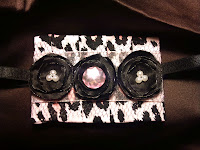 Crystal: Because I am so particular as others would call, a perfectionist, my husband is the only one who helps me on occasion(when hes not on duty for the military) and he is a great help.Other then that its just me, myself and I that makes and ships all orders, and I'm darn good at it!
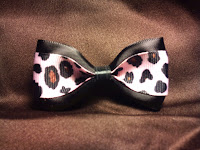 Crystal: The name BowDacious Babes was created by me and my amazingly talented sister! For days we conversed about what the name should be and because my bows and bands are for all ages I didn't want a name that was going to give the impression that it was only for their little angel and not for them. I want all my customers, whether they're mommies or not, to enjoy my product for themselves as well, because nobodies too old to make their hair BowDacious!
Friday, March 18, 2011
Giveaway- WE HAVE A WINNER!
 On Monday, Runner Girl Creations offered a giveaway so that one lucky commenter could get their hands on one of her cards FOR FREE!
 Monday, March 14, 2011
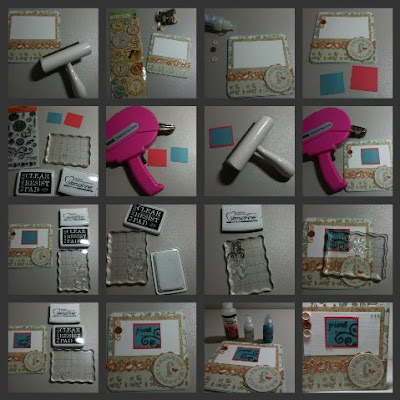
Featured Artist: Runner Girl Creations



Friday, March 11, 2011
Tutorial: Black and White Photo Conversion
Black and white photos can be breathtaking. Their ability to focus a picture, introduce new elements unnoticed in color, and simplify decent photos into masterpieces is widely known. However, changing a photo from color to black and white effectively is not so well known. Never fear- you’re about to learn how to easily (and beautifully) black and white your color.

Here’s a simple step-by-step plan to easily transform a color photo to black and white masterpiece using Photoshop CS.
Step 1: From the “Image” drop-down menu, select “Adjustments”, and then “Channel Mixer”. This is the most difficult part of the whole process. First, check the box in the bottom right corner that says “monochrome”. Next, slide the “red” slider to zero. You’ll notice your preview goes black. No worries- slide the “green” slider up to about 65%, and the “blue” up to about 60%. Move the sliders up and down until you reach the perfect black and white combo- you’re the judge on this one.


Step 2: From the “Image” drop-down menu, select “Adjustments”, and then “Brightness/Contrast”. Adjust the contrast to the desired level, in this case 30. You want true blacks, and true whites- play around with the slider til you find the perfect combo.


Step 3: Select the “Blur” tool from the tool panel. Make the brush size maneuverable for the photo, I used 231. Set “Mode” to “manual”. Set “Strength” to 100. Blur out anything that is not the primary focus. In this case, I blurred the background as much as possible, but especially the books in the bottom left corner. Eliminate any distractions.


And now you’re done! Your color photo is now a black and white photo- modern and eye-catching.

Have questions about other photo-processing techniques and would like to see more tutorials? Leave your suggestion in the comment area- we hope to see you again soon!
Also: Don’t forget about the huge CONTEST going on until Friday March 11- you could win a whole bunch of free digital scrapbooking stuff!
Tuesday, March 8, 2011
Featured Item: Celtic Wonder Paper Pack
St. Patrick’s Day is just around the corner. While I personally don’t have any plans for that evening, I know many do, and I KNOW the kiddo and I will be doing at least one shamrock-themed craft that day. And when we do, I’ll be able to scrap the memory- now that I’ve designed this classic, deep hue, Celtic symbol paper.
When I think about Ireland, I think of misty mornings and heavy fabrics, warm drinks and bagpipes. (It might have something to do with Braveheart.) At any rate, I imagine beautifully dressed women in long gowns of blue velvet and green emeralds, men in their kilts, and beautiful jewelry and symbols. With that in mind, I designed my Celtic Wonder paper set- a five piece set designed especially for those Celtic themed layouts. Check it out:
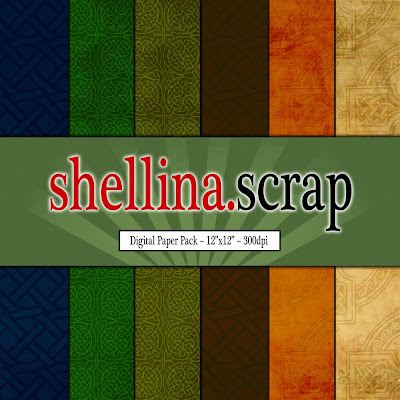
This pack is now on sale at ShellinaScrap- just in time for St Patty’s Day.
And now, an Irish blessing to bring you a smile:
(Click the quote to find more Irish blessings!)
Happy Scrapping!
Monday, March 7, 2011
Freebie: Layout & Template
When I was in fifth grade, my teacher told me something that would stick with me forever:
“Always KISS- Keep It Simple, Stupid!”
Now, while I don’t support teachers who make a habit of calling their students stupid, I can attest to the fact that simplicity, whether it be in life, in writing, or yes, even in scrapbooking, is an excellent way to make a bold statement.
Often, as scrappers, we find ourselves with a whole slew of pictures from our most recent exploit, but really only one good one. In my case, I’ll have 800 pictures from any given event, and I might keep three of them. (I’m a little shutter-happy.) So when I get home, and I’m sorting through hundreds of pictures, and I pick my one keeper, I then find myself saying something like, “Oh dang it! A one-photo layout?! Lame!”
And to that little voice, I then respond, “NAY! A great layout can be made with just one photo!”
I did it, and you can too, with a little help. Sometimes the best layouts feature one beautiful photo that tells a beautiful story- and the layout just helps it shine more. For example, this layout:
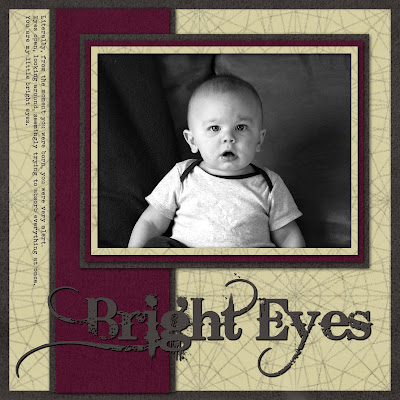
Notice how the whole layout seems to frame the focal point, and serves to draw the eye right to the kiddo? By choosing to keep the page free of elements, putting in just a little bit of well-placed journaling, and triple framing the photo, the beholder automatically is drawn to the photo- the whole point of the layout.
Now it’s YOUR turn! Here’s a freebie for you- the template (shadows and shapes included) for you to add your own papers, photos, journaling, and title work and make a beautiful simple layout. Just go my website, and use the access code FREE01 to download.Feel free to share your layout with us! Put a link to your layout in the comments, and I’ll pick one to feature later this week.
(Just CLICK HERE, and use the access code FREE01 to download.)

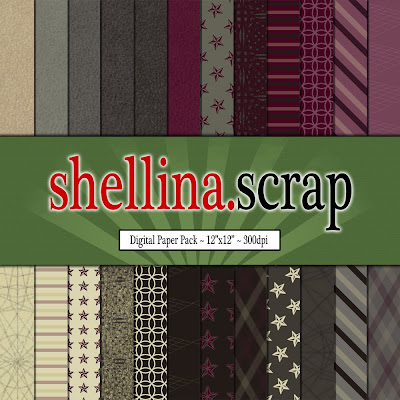
And hey- do you like the papers used in the layout shown above? They can be yours! The Iron and Wine paper pack from ShellinaScrap is available now at my shop.
Happy Scrapping!
Also: Don’t forget about the huge CONTEST going on until Friday March 11- you could win a whole bunch of free digital scrapbooking stuff!


